Hardwood Floor Sanding & Refinishing
Hardwood sanding and refinishing takes a wood floor back to bare timber with abrasive machines, then rebuilds the finish from scratch — the correct answer when the existing wear layer has failed.
- Free estimate, no obligation
- Priced after we see the floor — not over the phone
- Residential and commercial
- Solid hardwood
- Engineered hardwood with adequate wear layer
- Parquet and herringbone
Get a Hardwood sanding and refinishing Estimate
Three quick steps, about a minute. No obligation.
Floor Types & Materials
Reviewed July 2026.
Materials we work with
- Solid hardwood
- Engineered hardwood with adequate wear layer
- Parquet and herringbone
- Softwood plank floors
Where this is used
- Whole-house refinishing
- Living and dining rooms
- Stairs
- Restaurants and bars
- Offices
Problems We Solve
Worn-through finish
Once bare wood is exposed, the timber absorbs dirt and moisture directly. Sanding removes the damaged surface and a new finish seals it again.
Deep scratches and gouges
Damage that has reached the wood cannot be coated away. Sanding cuts below it so the surface reads as continuous again.
Water stains and greying
Dark rings and grey patches sit in the top fraction of the board. Sanding usually reaches clean timber underneath, though severe black staining may have penetrated too far.
Outdated or failed colour
A full sanding is the only point at which stain colour can genuinely be changed, since the old colour lives in the wood surface itself.
Cupping and lippage
Boards that have moved leave uneven edges. Flattening passes bring the floor back to a single plane once the moisture cause is resolved.
How It Works
-
Moisture and structure check
We read moisture in the boards and subfloor first. Refinishing a floor that is still wet guarantees the problem returns, so the source is resolved before sanding.
-
Repairs and fastening
Loose boards get re-secured, damaged sections replaced and protruding fasteners set below the surface — a single raised nail destroys an abrasive belt and scores the floor.
-
Coarse cut
The first aggressive pass removes the old finish and the damaged surface layer, and establishes flatness across the whole floor.
-
Intermediate and fine sanding
Successive finer grits erase the scratch pattern of the previous pass. Skipping a grit leaves marks that only appear once stain goes on.
-
Edging and corner detail
Perimeters, stair treads and corners are worked by hand so machine and hand-sanded areas take stain identically.
-
Stain and seal
Optional stain goes on evenly and is allowed to cure, followed by multiple protective coats with abrasion between them.
Typical timeline: 3–6 days for a typical residential floor, plus cure
Sanding, staining and coating each occupy their own stage, and stain must cure fully before sealing. Light foot traffic returns within days, but full cure — the point at which rugs and heavy furniture are safe — takes considerably longer.
Looking after the floor afterwards
Respect the cure window
The finish is soft for far longer than it feels. Rugs and heavy furniture placed early leave permanent impressions.
Control indoor humidity
Wood moves with humidity. Keeping it in a stable range is what prevents cupping and gapping from returning.
Grit control at doors
Entry mats and pads under furniture do more to protect a new finish than any product applied to it.
Plan the next recoat
A recoat before the wear layer fails avoids ever sanding again, and each sanding permanently removes board thickness.
Before & After: How These Finishes Look
What hardwood sanding and refinishing looks like across different materials and sheen levels.
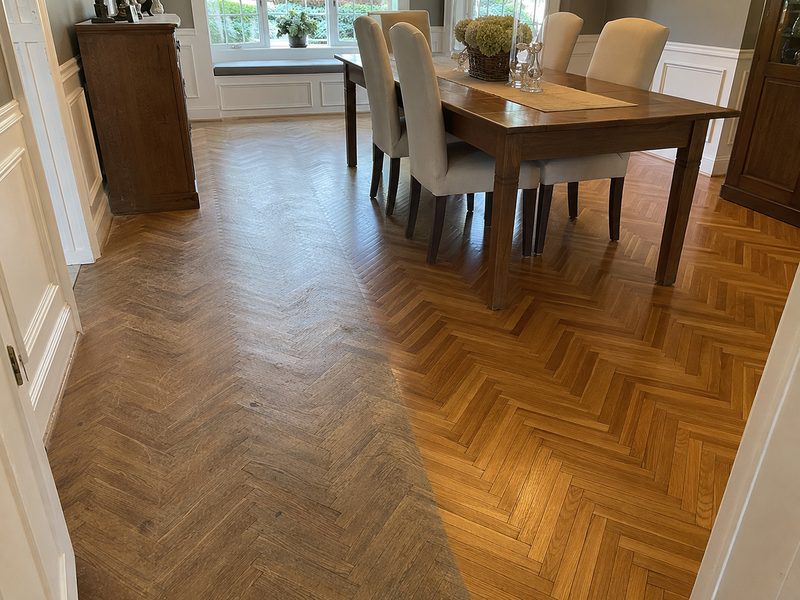
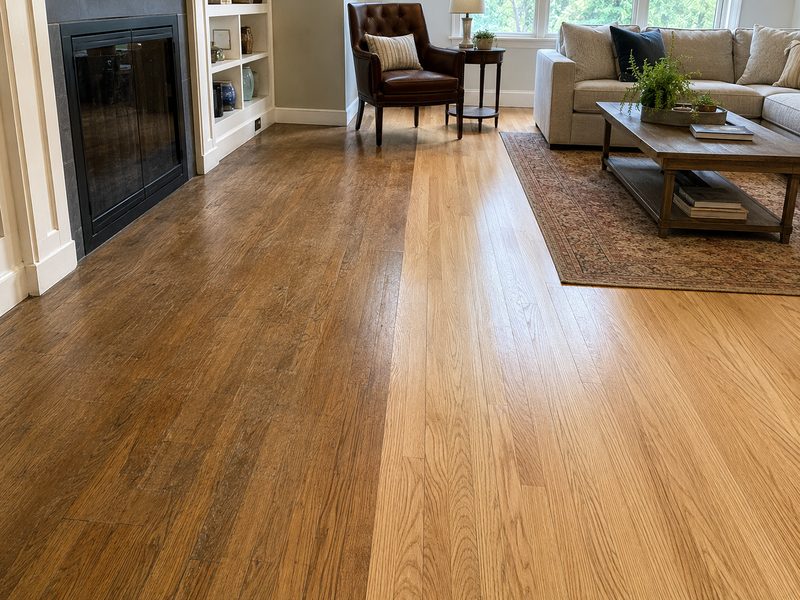
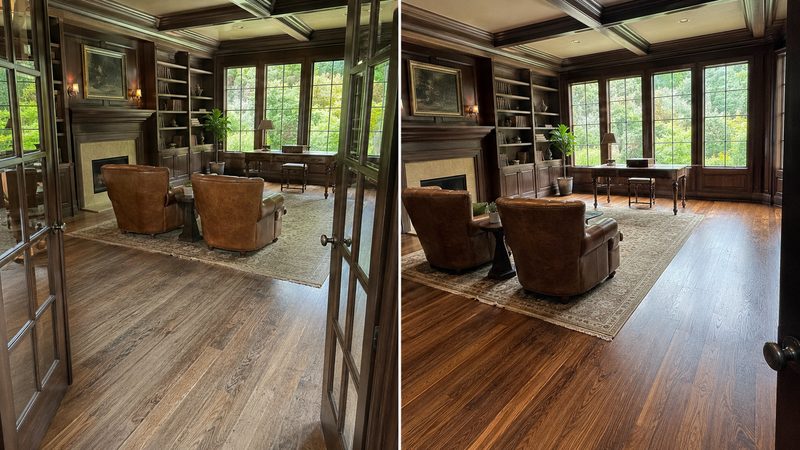
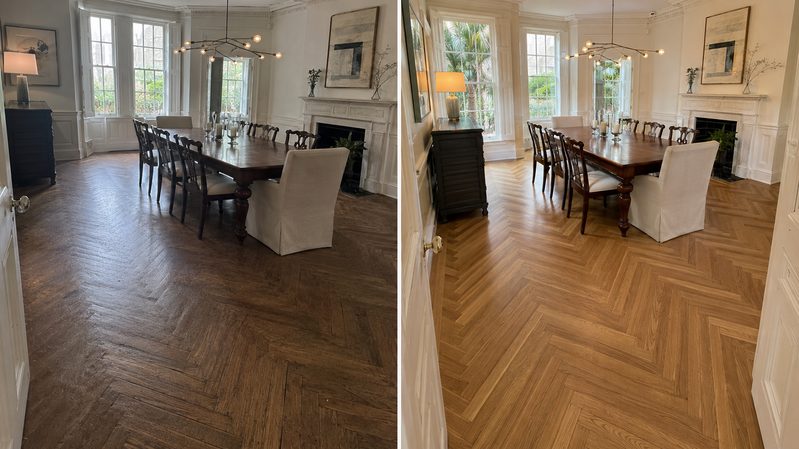
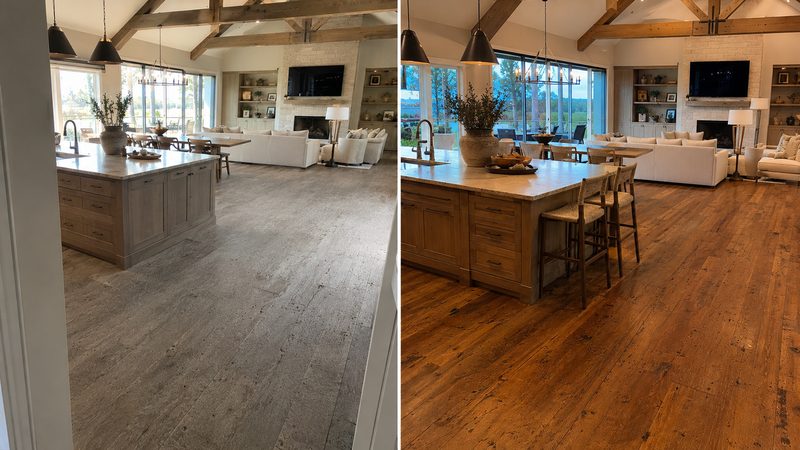
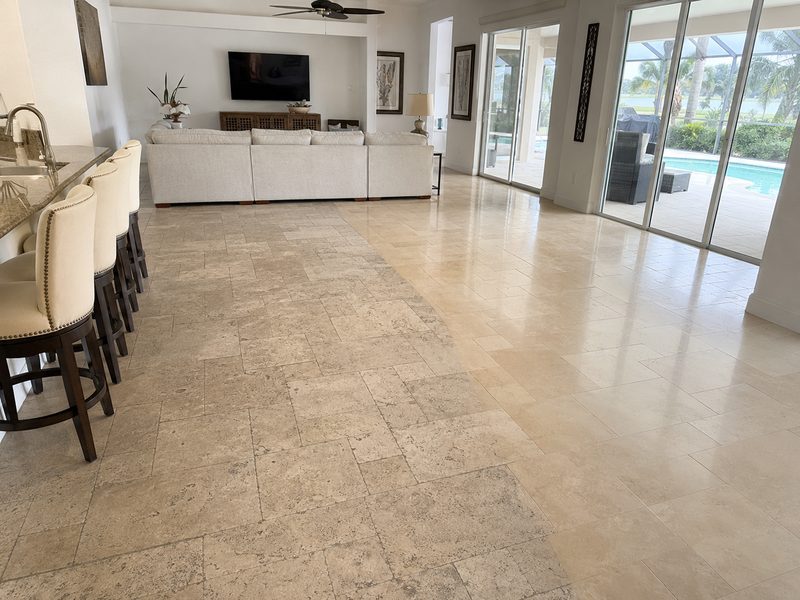
Illustrative examples of materials and sheen levels, not photographs of completed customer jobs.
Finish & Sheen Options
The sheen level changes both how the floor looks and how much upkeep it asks for.
Matte
Natural, almost raw appearance. The most forgiving option for households with pets and children.
Satin
The default residential specification — visible depth without drawing attention to every particle of dust.
Semi-gloss
Brighter and more formal, and noticeably less tolerant of scratches.
Gloss
Maximum reflection and grain emphasis, most often specified in commercial and period settings.
Residential & Commercial
Residential
- Whole-house refinishing during a move
- Restoring floors uncovered from under carpet
- Colour changes
- Repairing water-damaged rooms
Commercial
- Restaurant and bar floors
- Retail and showroom timber
- Historic and civic buildings
- Office refurbishment
What Affects the Cost
Every floor is priced after we have seen it. These are the variables that move the number.
Floor condition
A flat floor with a failed finish sands predictably. Cupping, heavy staining, adhesive residue or old paint each add passes and sometimes force a coarser start.
Stain versus natural
Staining is a separate application and cure stage, and it raises the penalty for uneven sanding because colour reveals every missed scratch.
Coating system
Finish choice drives both material cost and schedule, since systems differ substantially in cure time and number of coats.
Layout and detail
Stairs, closets, herringbone and inlays are hand-intensive. A stair flight can carry the labour of a whole room.
Repairs before sanding
Board replacement, re-fastening and subfloor work are priced separately from the sanding itself.
Request a Hardwood sanding and refinishing estimate
Send the material, approximate area and a few photos, and we will take it from there.
Get a Free EstimateWhere We Offer Hardwood Floor Sanding & Refinishing
Select a state to see the counties and cities currently covered.
Why Work With Us
Written estimate after inspection
We price the floor after seeing it, not from a phone description. The estimate sets out scope and the variables that could change it, so there are no discoveries mid-job.
Material identified before work starts
Marble, limestone and travertine look alike and behave differently under the same abrasive. We confirm what the floor actually is and test in a discreet area before committing to a method.
Dust controlled at source
Grinding and sanding run with HEPA-filtered extraction at the tool head and containment between work and occupied areas, because concrete dust is a health matter rather than a tidiness one.
Written maintenance plan on handover
You get the products, dilutions and intervals that keep the finish alive, since most floors we are called back to were damaged by cleaning rather than by use.
Frequently Asked Questions
It depends on thickness above the tongue. Solid hardwood typically tolerates several sandings across its life; engineered boards depend entirely on wear-layer thickness and some cannot be sanded at all. We measure before quoting rather than assume.
It is dust-contained, not dust-free. Vacuum-integrated machines capture the large majority at source, which makes a substantial difference to the house, but sealing off adjacent rooms is still worthwhile.
Often yes, with planning. Rooms are staged so there is always somewhere to be, though finish application periods need the area clear and well ventilated.
Surface greying usually sands out. Black stains from long-term water or pet urine have often penetrated the full board thickness, and in those cases board replacement is the honest option.